How to Build a Senior-Friendly Garden From Scratch
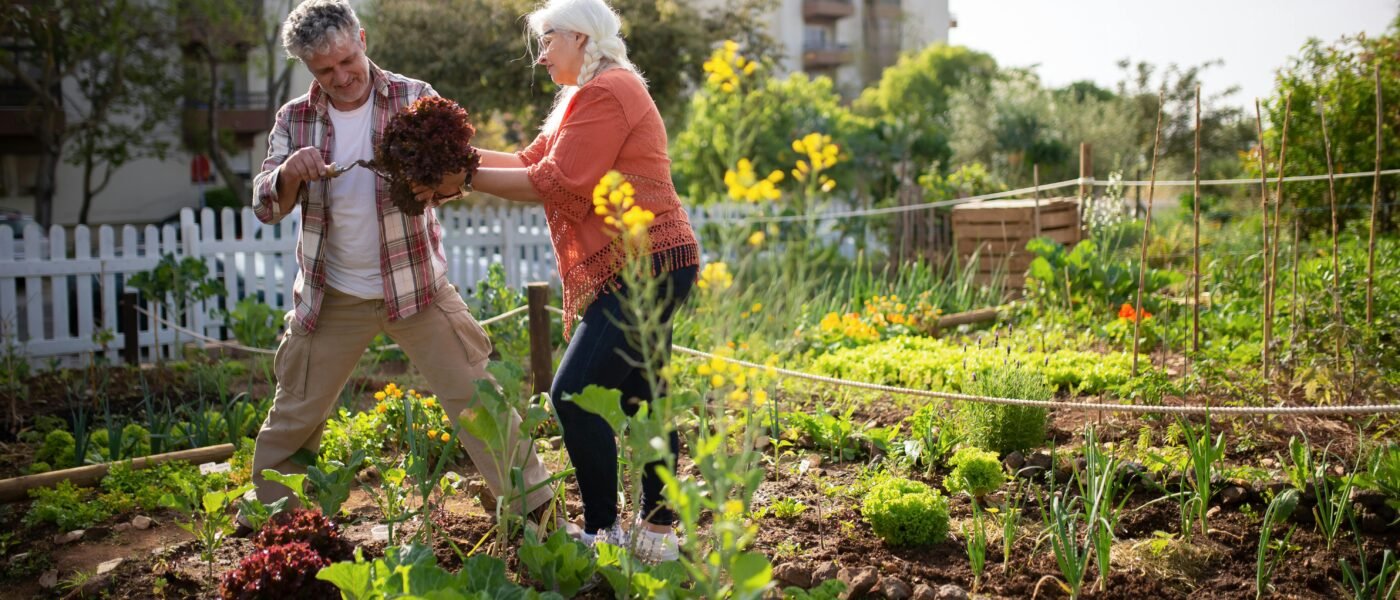
Now, with decades of firsthand experience managing arthritis while gardening, I can tell you this: building a garden from scratch as a senior isn’t just possible—it can be one of the most rewarding projects you’ll ever undertake. The secret lies in smart planning, the right tools, and a willingness to adapt. This step-by-step guide will walk you through every phase, from choosing the perfect spot to selecting the best soil, so you can create a senior-friendly garden that brings you joy for years to come. I’ve made all the mistakes so you don’t have to.
Step 1: Assessing Your Physical Needs and Garden Space
Before you dig a single hole, take a honest look at your current physical limitations. Are your knees the main problem? Your back? Your hands? Each issue requires a different solution. For me, it was my knees and the arthritis in my fingers that made gripping tools painful. I learned that a senior-friendly garden starts with understanding your body’s signals.
Next, evaluate your space. Is it a small backyard, a patio, or a community plot? Measure the area and note how much sun it gets. For seniors, I strongly recommend keeping the garden compact—no more than 100 square feet if you’re starting fresh. A smaller space is easier to manage, requires less bending, and gives you a sense of accomplishment without exhaustion. If your mobility is limited, consider a south-facing spot with good drainage. Avoid areas with steep slopes or compacted clay soil that will fight you every step of the way.
Step 2: Choosing the Right Garden Beds—Raised Beds Are a Game-Changer
If there’s one piece of advice I can give you after 15 years of nursery work and two decades of gardening with arthritis, it’s this: invest in raised beds. A senior-friendly garden almost always starts with raised beds. They elevate the soil to waist height, eliminating the need to bend or kneel. I built my first raised bed out of cedar—no chemicals, just natural rot resistance—and it was a revelation.
Here’s what to look for in raised beds for seniors:
- Width: Keep beds no wider than 4 feet so you can reach the center from either side without stretching.
- Height: Aim for 24 to 30 inches tall. This allows you to sit on a stool or garden from a standing position without straining your back.
- Material: Cedar or composite wood is best. Avoid treated lumber that may leach chemicals into your soil.
- Drainage: Ensure the bottom has drainage holes or is open to the ground below.
You can find pre-made raised bed kits at most garden centers. For a DIY option, I recommend cedar planks from a local lumberyard—just avoid pressure-treated pine. Place your beds on a level surface, and if you’re on a patio, add a layer of landscape fabric to prevent weeds from creeping up.
Step 3: Selecting Ergonomic Tools That Save Your Joints
Standard garden tools are designed for 20-year-olds with strong backs. For a senior-friendly garden, you need ergonomic tools that reduce strain. I learned this the hard way after a season of using a heavy steel trowel that left my hands swollen. Now, I only use tools with padded, non-slip grips and lightweight aluminum or carbon fiber handles.
Essential ergonomic tools for seniors:
- Long-handled trowel and cultivator: These let you dig and weed without bending. Look for handles with a D-shaped grip that distributes pressure evenly.
- Kneeling pad or garden stool: If you must kneel, use a thick foam pad. Better yet, use a rolling garden stool with wheels—you can sit and scoot along the bed.
- Ratchet pruners: These use a gear mechanism that multiplies your strength, making cutting thick stems easy on arthritic hands.
- Watering wand with trigger handle: A long wand eliminates the need to carry heavy watering cans. The trigger handle lets you control flow without gripping a hose nozzle.
- Garden cart or lightweight wheelbarrow: Never carry soil bags or pots—roll them. A two-wheeled cart is more stable than a traditional wheelbarrow.
I always tell my students: the right tool is not a luxury—it’s a necessity. Spend a little extra on quality, and your joints will thank you. For more details on specific brands and models, check out our Related Gardening Guide on ergonomic equipment.
Step 4: Picking the Perfect Soil and Amendments
Soil is the foundation of any garden, and for a senior-friendly garden, it must be lightweight and easy to work. Heavy clay or compacted soil is your enemy—it forces you to dig harder, which taxes your back and joints. I recommend starting with a high-quality raised bed mix that’s light, fluffy, and full of organic matter.
What to look for in soil products:
- Raised bed mix: Look for a blend of topsoil, compost, and perlite or vermiculite. This combination drains well, retains moisture, and is easy to dig into.
- Compost: Add one part compost to three parts soil mix. This enriches the soil and improves texture. I use mushroom compost or well-rotted cow manure.
- Mulch: A 2-inch layer of shredded bark or straw on top reduces weeding—a huge win for seniors. It also keeps soil cool and moist.
- Slow-release fertilizer: Choose a granular organic fertilizer (like 5-5-5) that you sprinkle once at planting time. No mixing, no mess.
Avoid bags of pure garden soil or cheap potting mixes that turn into concrete when dry. Invest in a premium mix from a reputable nursery. If you’re ordering online, look for products labeled “raised bed and container mix.” Your soil should feel like crumbly cake, not wet clay.
Step 5: Planting for Low Maintenance and High Reward
Now comes the fun part—choosing plants. For a senior-friendly garden, pick varieties that are low-maintenance, drought-tolerant, and easy to harvest. I’ve learned that vegetables like cherry tomatoes, bush beans, and lettuce are ideal because they don’t require staking or heavy pruning. Herbs like basil, thyme, and chives are also winners—they grow fast and need little care.
Tips for senior-friendly planting:
- Use transplants, not seeds: Starting from seed requires constant thinning and watering. Buy small plants from a nursery and pop them directly into your beds.
- Go vertical: Use trellises or cages for climbing plants like cucumbers and pole beans. This keeps fruit off the ground and makes harvesting easier on your back.
- Space properly: Give plants enough room to grow so you don’t need to prune or thin later. Follow the spacing guide on the label—crowding leads to disease and more work.
- Choose perennials: Plants like lavender, sage, and daylilies come back year after year, reducing the need for replanting. They’re perfect for a senior-friendly garden.
Watering is another area where smart choices pay off. Install a drip irrigation system or soaker hoses on a timer. This eliminates the need to hand-water every day—a huge relief for tired hands. I set my timer for early morning, and the garden takes care of itself while I enjoy my coffee.
Step 6: Designing Pathways and Seating for Comfort
A senior-friendly garden isn’t just about the plants—it’s about how you move through the space. Pathways should be wide enough for a walker or wheelchair (at least 3 feet) and made of slip-resistant materials like decomposed granite, brick, or flat pavers. Avoid loose gravel or wood chips that can shift underfoot.
Include at least one comfortable seating area near the garden. I have a simple bench with a backrest placed under a shade tree, where I can rest between tasks. Some seniors prefer a garden stool with wheels that allows them to move along the beds while sitting. Whatever you choose, make sure it’s stable and easy to get in and out of.
Lighting is also important. Install solar path lights to illuminate walkways and the garden entrance. This prevents trips and falls during early morning or evening gardening sessions. Safety should always come first.
Step 7: Creating a Routine That Protects Your Joints
The final step in building a senior-friendly garden is establishing a sustainable routine. I’ve learned that gardening in short bursts—30 minutes in the morning and 30 minutes in the evening—is far better than trying to do everything in one marathon session. Use a timer if you need to remind yourself to stop.
Here’s my personal routine:
- Morning: Water the beds (if no drip system), harvest any ripe vegetables, and do light weeding using my long-handled cultivator.
- Evening: Deadhead flowers, check for pests, and sit for 10 minutes just enjoying the garden. No heavy work.
- Weekly: One day for deeper tasks like pruning or planting new transplants. I break this into 15-minute intervals with stretching breaks.
Listen to your body. If your hands ache, stop. If your back hurts, adjust your posture. The goal is not to prove how tough you are—it’s to enjoy the process. I also recommend gentle stretching before gardening. The Arthritis Foundation has excellent resources for joint-friendly exercises that warm up your muscles and reduce stiffness.
Conclusion: Your Garden, Your Way
Building a senior-friendly garden from scratch is one of the most empowering projects you can undertake. It’s not about giving up your passion—it’s about adapting it so you can keep growing, harvesting, and loving the soil for years to come. I’ve been there, with aching joints and a stubborn heart, and I can promise you that every raised bed, every ergonomic tool, and every thoughtful pathway is worth the effort.
Start small, choose the right tools, and let your garden be a place of peace, not pain. If you have questions or want more specific advice, don’t hesitate to explore our other guides. Your hands may not be as strong as they once were, but your wisdom is stronger than ever. Now go build that garden—you’ve earned it.
Leave a Reply