Gardening After Hip Replacement: How to Get Back in the Garden Safely
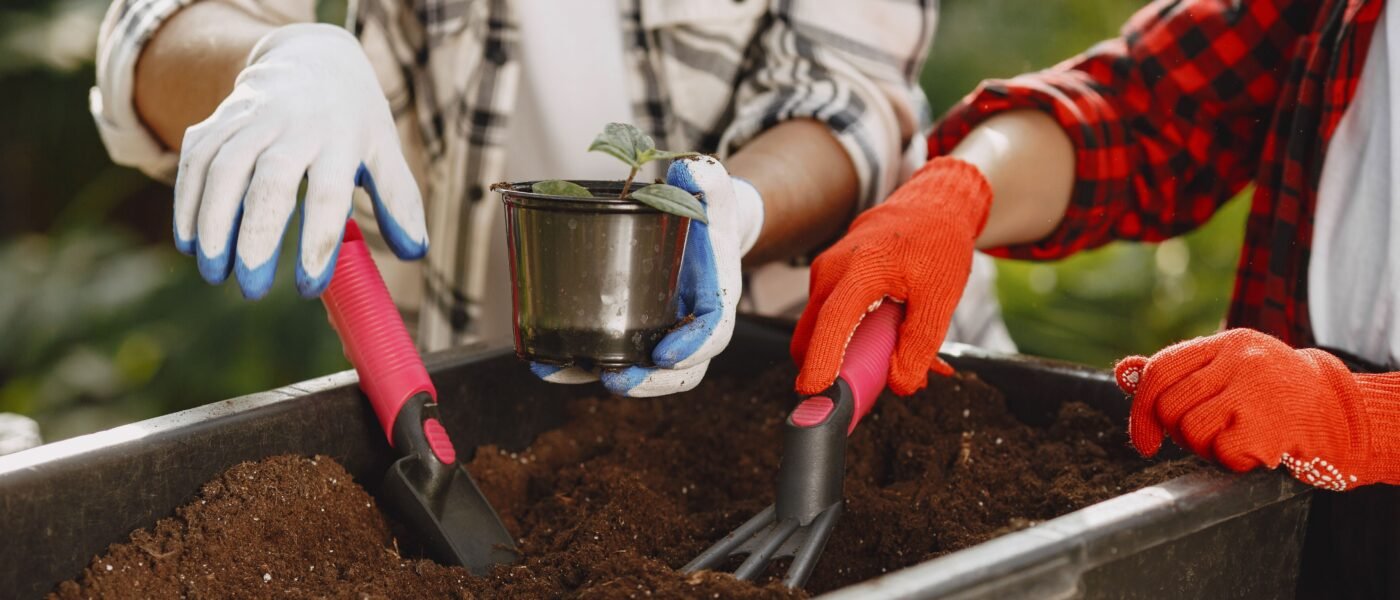
The patient reader in me knows exactly what you’re feeling: that mix of relief and frustration the first time you stand in your garden after hip replacement surgery, wanting to touch the soil but terrified of a setback. I remember the exact moment I came home from my own hip surgery in 1992, staring at my overgrown perennial border, thinking, “This is either the end of my gardening life, or the beginning of a smarter one.” After 15 years running a nursery from 1980 to 1995, I’d seen hundreds of gardeners face this same crossroads. Having managed arthritis since my late 40s, I knew that getting back in the garden safely wasn’t just about patience—it was about strategy, tools, and a complete rethink of how we approach the soil.
The Real Timeline for Gardening After Hip Replacement
Let me be brutally honest with you, as I would have been with my nursery customers: your body is not the same after hip replacement. The first six weeks are non-negotiable rest and gentle walking only. I learned this the hard way when I tried to deadhead a few chrysanthemums at week four and spent the next three days regretting every snip. According to the American Academy of Orthopaedic Surgeons, most patients can return to light gardening around 6-8 weeks post-surgery, but full recovery takes 3-6 months. The key is understanding that “light gardening” doesn’t mean what you think it means. It means sitting on a stool, using long-handled tools, and never bending past 90 degrees at the hip.
Your surgeon will give you specific restrictions, but the universal rules I share with every gardener recovering from hip replacement are these: no twisting, no deep bending, and no lifting more than 10 pounds for the first three months. That means those bags of soil? Have someone else carry them. That beautiful but heavy ceramic pot? Leave it for next season. Your garden will survive a season of neglect far better than your new hip will survive a season of overexertion.
Bulb Planting After Hip Replacement: A New Strategy
Here’s where my personal experience really kicked in. Fall bulb planting had always been my favorite ritual—the promise of spring hidden in the cold ground. After my hip replacement, I thought I’d have to give it up entirely. Then I discovered the tool that changed everything: a long-handled bulb planter with a foot pedal. This isn’t your grandmother’s rusty bulb planter. Modern ergonomic bulb planters have extended handles that let you stand upright while pressing the tool into the soil with your non-operated foot. I can plant 50 tulip bulbs in 20 minutes without bending once.
The trick is to plan your bulbs for accessibility. Instead of planting clusters throughout the garden where you’d need to navigate around perennials, create dedicated bulb beds near paths or patio edges where you can reach them from a seated position. I use a rolling garden stool—the kind with a padded seat and wheels—to move along the bed without standing up. For deeper bulbs like tulips, I use a bulb auger attachment on a cordless drill. Yes, it sounds modern, but it’s a game-changer. You simply stand over the spot, drill the hole, drop in the bulb, and move on. No bending, no kneeling, no pain.
Tidying Up Without Twisting: Safe Gardening Movements
Tidying the garden after hip replacement requires a complete mental shift. You cannot twist at the waist to reach behind you. You cannot bend forward to pull weeds. You cannot kneel to prune. Every movement must be performed with your hips squared forward and your spine neutral. This means you need to rethink your entire approach to garden maintenance.
Start with the right tools. A long-handled weeder with a claw grip lets you remove dandelions and other deep-rooted weeds while standing straight. A telescoping pruner reaches branches that would otherwise require reaching or bending. For deadheading, I use a lightweight, curved-blade pruner that fits in my pocket, but I always use it while seated on my rolling stool. The most important tool for tidying after hip replacement is a garden caddy or apron with multiple pockets. You want all your tools within arm’s reach so you never have to twist to grab something.
Seasonal Tool Links for Every Recovery Stage
I can’t stress enough how critical the right tools are for your recovery. Here are the specific tools I recommend for each season, based on what worked for me and hundreds of gardeners I’ve advised:
- Spring tools: A lightweight, ergonomic trowel with a padded handle for planting annuals. A kneeling pad with built-in handles (use it to sit on, not kneel). Related Gardening Guide: Spring Planting Without Pain
- Summer tools: A telescoping watering wand with a trigger grip so you don’t have to carry heavy watering cans. A rolling garden stool with a backrest for prolonged weeding sessions. Related Gardening Guide: Watering Solutions for Limited Mobility
- Fall tools: The long-handled bulb planter I mentioned earlier. A lightweight leaf scoop designed for standing use. Related Gardening Guide: Fall Cleanup Made Easy
- Winter tools: A frost cover system with zippers so you can protect plants without bending. A heated garden stool for those cold but necessary pruning days. Related Gardening Guide: Winter Gardening for Seniors
The Mental Game: Adjusting Expectations After Hip Replacement
Let me share something my nursery customers rarely heard me say out loud: the hardest part of gardening after hip replacement isn’t physical—it’s mental. You have to accept that your garden will look different for a season. Maybe two. The perfect borders you maintained for years? They’ll have weeds. The tidy edges? They’ll be a bit ragged. And that’s okay. I remember sitting in my garden six weeks after surgery, feeling frustrated that I couldn’t reach a single weed in the back corner. My husband offered to do it, and I snapped at him because I wanted to do it myself. That was pride talking, not wisdom.
What I learned—and what I’m passing to you—is that gardening after hip replacement is about partnership. Let someone else do the heavy lifting. Accept help with the tasks that require bending or kneeling. Focus on what you can still do: planning next year’s garden, starting seeds on a tabletop, deadheading from a seated position, and enjoying the beauty of being outside. The garden doesn’t care who plants the bulbs. It only cares that they get planted. Your new hip is not a limitation—it’s an invitation to garden smarter.
Practical Safety Rules for Every Gardener
Before I send you back to your garden, here are the non-negotiable safety rules I follow to this day, even though my hip is fully healed:
- Never garden alone for the first three months post-surgery. Have someone nearby in case you slip or need help standing.
- Set a timer for 20 minutes of gardening, then take a 10-minute break. Overexertion is the most common cause of setbacks.
- Listen to your body with brutal honesty. Pain is not weakness leaving the body—it’s your hip telling you to stop.
- Keep pathways clear of hoses, tools, and uneven surfaces. A fall after hip replacement can be devastating.
- Wear supportive shoes with good grip. No flip-flops, no garden clogs without back straps. Your balance is compromised during recovery.
Building a Garden That Supports Your Recovery
If I had one piece of advice for every gardener facing hip replacement, it would be this: redesign your garden to work for you, not against you. Raised beds are worth every penny. Container gardening on tables or benches eliminates bending entirely. Vertical trellises bring plants to eye level. I converted my entire vegetable garden to waist-high raised beds after my surgery, and I’ve never looked back. The initial investment pays for itself in saved pain and extended gardening years.
Consider installing a permanent garden stool or bench at strategic points around your property. Place them where you’ll need to sit for specific tasks—near the rose bed for deadheading, next to the vegetable patch for harvesting, under the shade tree for resting. I have three benches in my garden now, and each one has a small tool caddy attached. Your garden should be a place of restoration, not rehabilitation. With the right tools, the right mindset, and a willingness to adapt, you can garden for decades after hip replacement. I know because I’m still gardening at 78, and my hip is the least of my worries.
Remember what I told my nursery customers for 15 years: “The garden doesn’t judge you. It just waits for you to show up.” Show up safely, show up smartly, and your garden will reward you with beauty for years to come.
Leave a Reply