Senior-Friendly Garden Design: How to Lay Out a Garden You Can Maintain
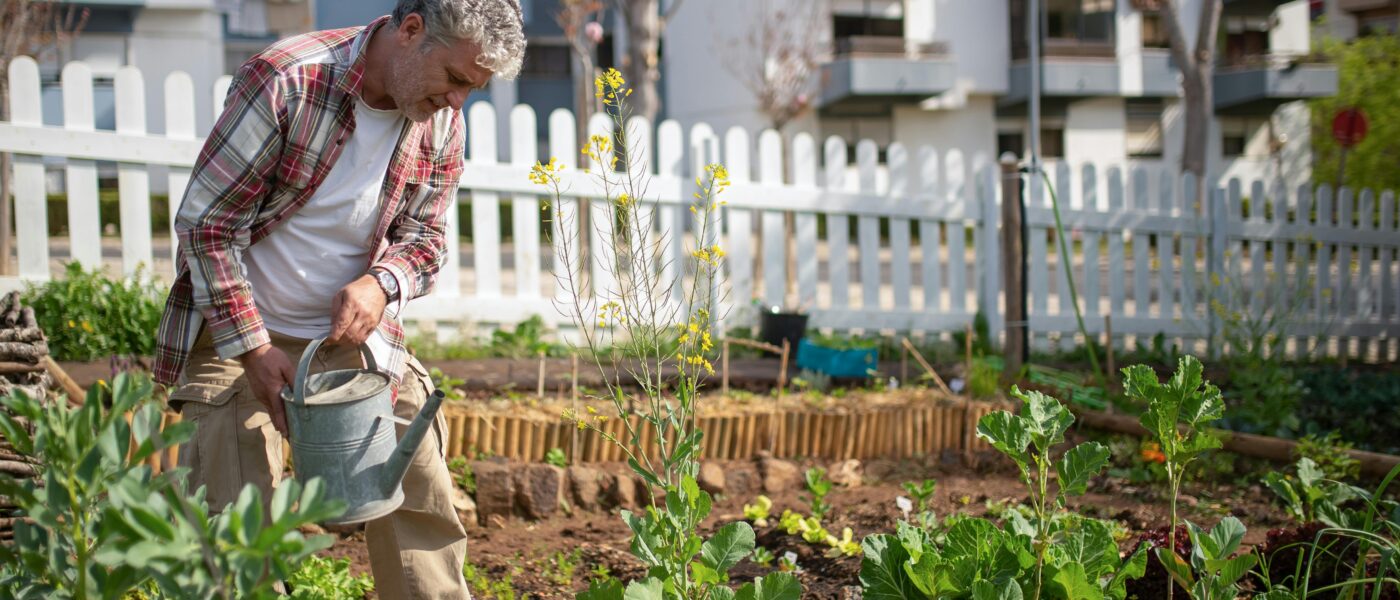
This design isn’t about giving up your passion. It’s about adapting so your garden works with your body, not against it. We’ll focus on raised beds, accessible pathways, and tools that reduce strain. And if you’re interested in indoor growing, we’ll touch on hydroponic kits, grow lights, and window gardens as a hub for year-round, low-impact harvests.
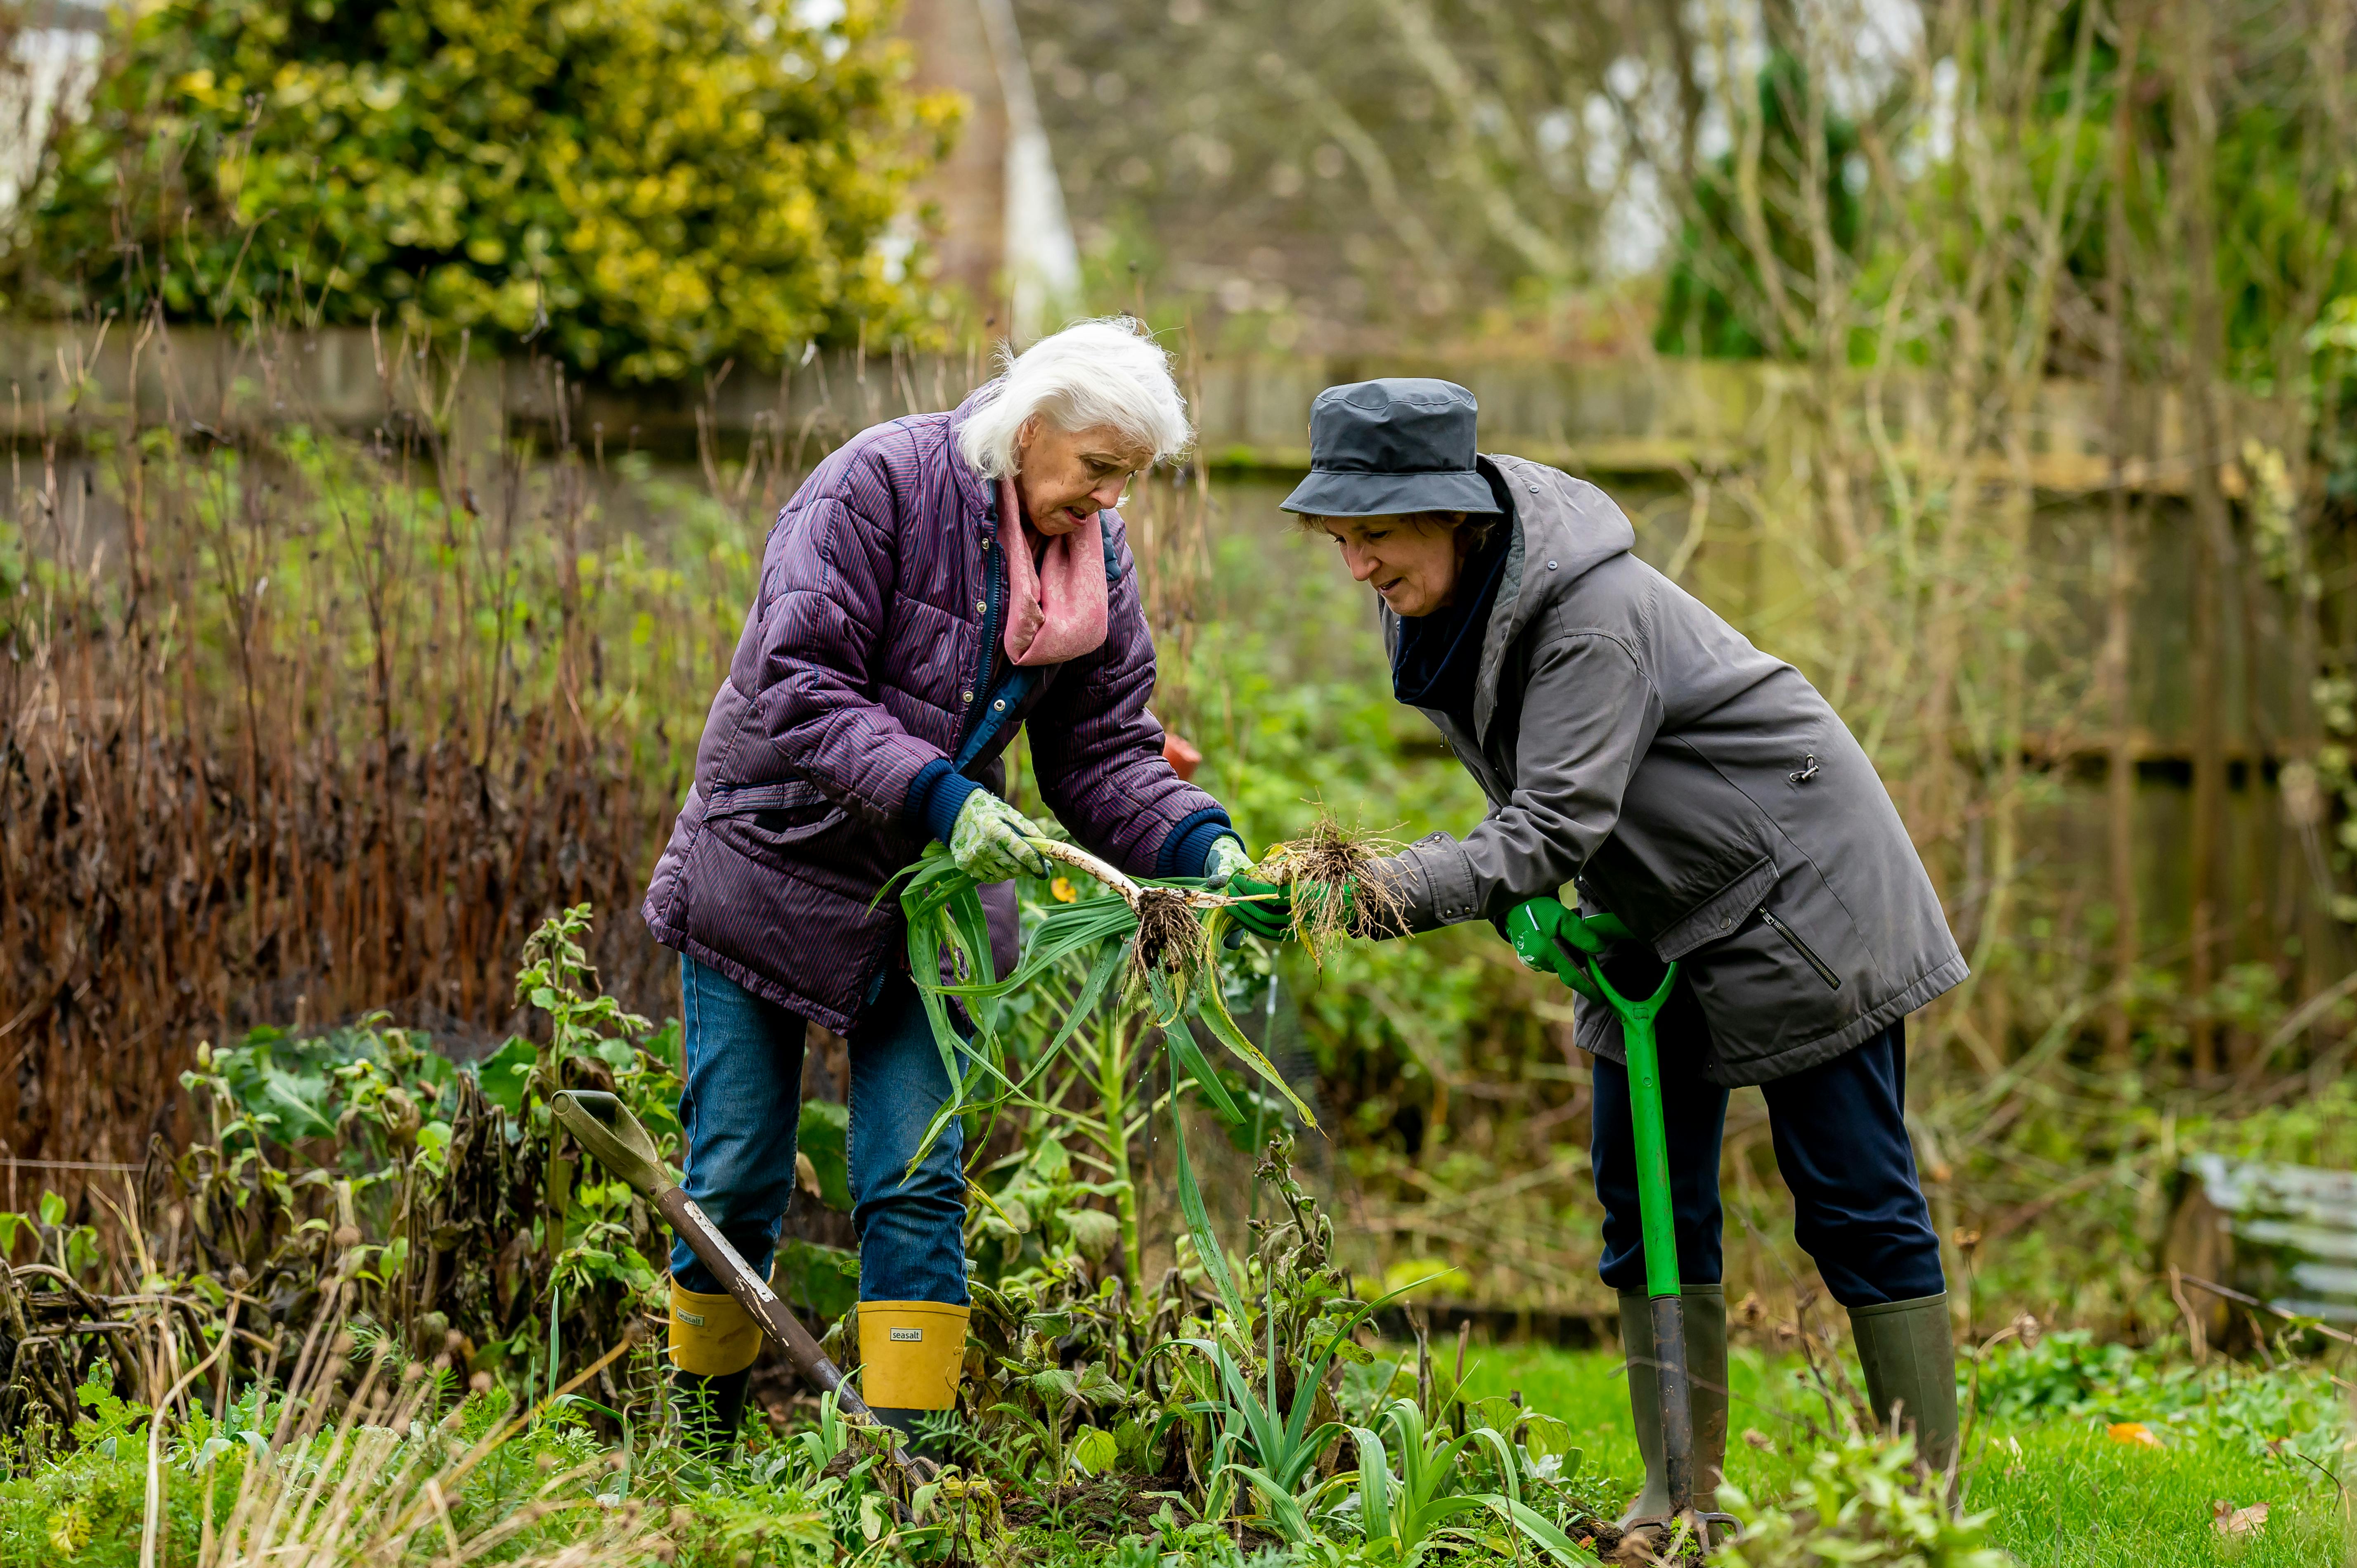
Why Traditional Garden Design Fails Seniors
Most gardens are designed for young, fit bodies. Beds are at ground level, requiring constant bending and kneeling. Paths are narrow, making it hard to maneuver a wheelbarrow or walker. And the layout is often scattered, forcing you to walk long distances between tasks.
For seniors, this is a recipe for pain. Bending strains the lower back. Kneeling irritates arthritic knees. And reaching into deep beds pulls on shoulder joints. The result? You either stop gardening or hurt yourself trying to continue.
My own wake-up call came when I couldn’t grip a trowel after a morning of weeding. I knew I had to change the layout—not just the tools. That’s when I started designing gardens that prioritize accessibility over aesthetics, though you’ll find they can be beautiful too.
The Core Principles of Senior-Friendly Garden Layout
1. Raise Everything to Waist Height
Raised beds are non-negotiable for senior gardeners. The ideal height is 24 to 30 inches—roughly waist level when standing. This eliminates bending entirely. You can sit on a stool or stand comfortably while planting, weeding, and harvesting.
- Bed width: Keep beds 3 to 4 feet wide so you can reach the center from either side without stretching.
- Material: Use cedar or composite wood for durability. Avoid treated lumber that may leach chemicals.
- Depth: At least 12 inches of soil for most vegetables, 18 inches for deep-rooted plants like tomatoes.
If you have limited mobility, consider a table-top raised bed that sits on legs. I’ve used one for lettuce and herbs for years—it’s like gardening from a countertop.
2. Create Wide, Stable Pathways
Narrow paths are a hazard. Aim for 4-foot-wide pathways to accommodate a walker, wheelchair, or garden cart. Use materials that are slip-resistant and firm underfoot, like decomposed granite, bark mulch, or rubber pavers.
- Surface: Avoid loose gravel or uneven stones. They’re hard to navigate with a cane or walker.
- Edging: Use low, sturdy borders like metal or stone to prevent soil from spilling onto paths.
- Grade: Keep paths level or with a gentle slope (less than 5%) to reduce fall risk.
I once tripped on a loose brick in my own garden. After that, I switched to rubber mats—easy on the joints and safe in rain.
3. Zone Your Garden for Efficiency
Group plants by water and sunlight needs, but also by access frequency. Place high-maintenance plants (like salad greens you harvest daily) closest to the house or seating area. Put low-maintenance perennials farther away.
- Zone 1: Herbs, lettuce, and cherry tomatoes near the door or patio.
- Zone 2: Root vegetables and climbing beans in waist-high beds.
- Zone 3: Fruit trees and shrubs in self-watering containers on wheels.
This layout reduces walking distance and keeps your energy for the tasks that matter most.
Ergonomic Tools and Techniques for Every Task
Tools That Save Your Joints
Standard garden tools are designed for a young grip. As we age, we need tools with larger handles (1.5 to 2 inches in diameter) and cushioned grips. Look for brands like Fiskars or Radius Garden that offer ergonomic lines.
- Long-handled trowel and weeder: These let you work from a standing position, reducing back strain.
- Pruners with ratchet action: They cut through branches with less hand strength.
- Kneeler stool: A padded stool that flips into a kneeler—perfect for low tasks.
I keep a tool belt with pouches so I don’t have to bend down for supplies. It’s a small change that saves dozens of bends per session.
Watering Without Strain
Carrying heavy watering cans is a common injury trigger. Install a drip irrigation system on a timer. It delivers water directly to roots, reduces evaporation, and eliminates lifting.
- Soaker hoses: Lay them along bed edges and connect to a timer.
- Rain barrels on stands: Elevate them so gravity feeds water into a hose—no pump needed.
- Lightweight hose: Use a 50-foot, 5/8-inch rubber hose that’s flexible and kink-resistant.
If you prefer hand watering, use a trigger nozzle that locks on, so you don’t have to squeeze continuously.
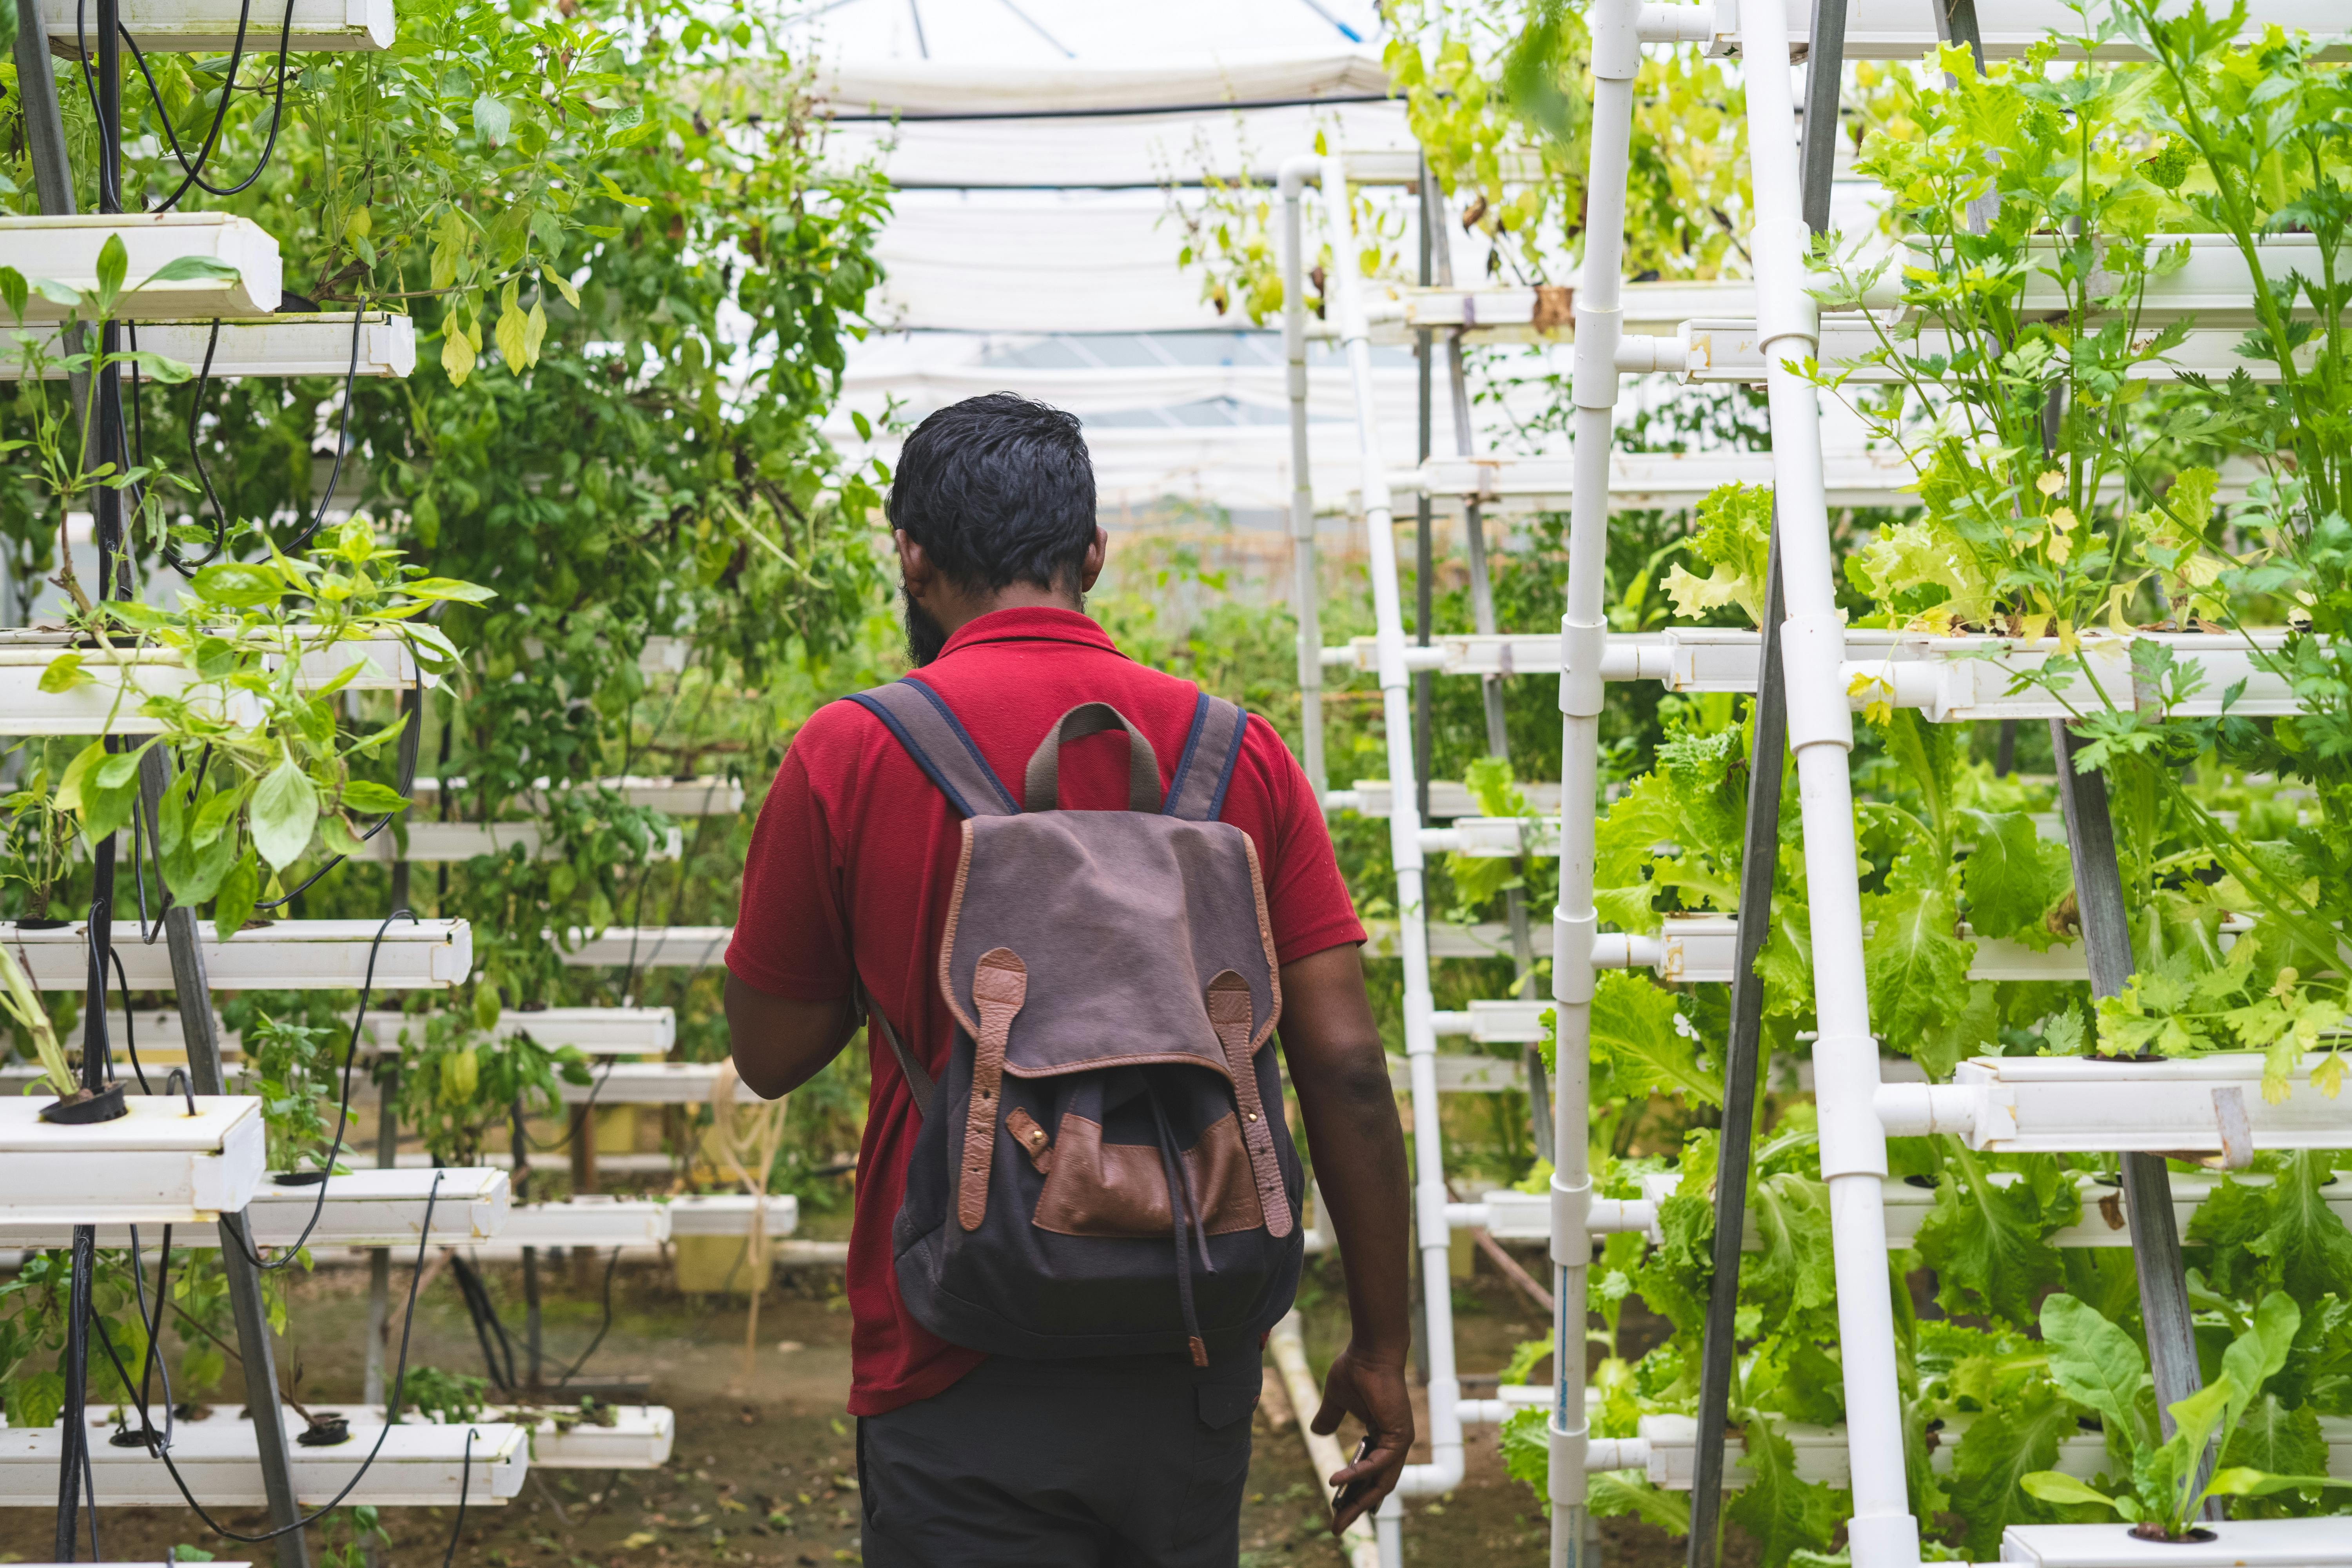
Indoor Gardening: The Ultimate Senior-Friendly Hub
For many seniors, outdoor gardening becomes impractical due to weather, mobility, or space. That’s where indoor gardening shines. I’ve set up a small corner in my sunroom with hydroponic kits and grow lights, and it’s become my year-round sanctuary.
Hydroponic Kits: No Soil, No Bending
Hydroponics eliminates digging, weeding, and heavy soil bags. Most kits are tabletop units with built-in pumps and lights. You just add water and nutrients.
- Best for beginners: AeroGarden or Click & Grow—simple, self-contained, and easy to clean.
- Plants to grow: Lettuce, basil, mint, and cherry tomatoes thrive in hydroponic systems.
- Maintenance: Change water every 2 weeks and add liquid nutrients monthly. No heavy lifting.
I have a two-tier hydroponic tower in my kitchen. It produces enough lettuce for daily salads, and I never have to kneel or bend to tend it.
Grow Lights: Extend Your Season
Even if you have windows, grow lights ensure consistent growth during winter. Look for full-spectrum LED lights that mimic sunlight. They’re energy-efficient and don’t get hot.
- Placement: Hang lights 6 to 12 inches above plants, adjusting as they grow.
- Timers: Use a 12-16 hour on/off cycle. Smart plugs make this automatic.
- Safety: Choose lights with a low heat output to avoid fire risk.
I use a small grow light stand with shelves—perfect for a windowsill or counter. It keeps my herbs thriving even in January.
Window Gardens: Simple and Accessible
If hydroponics feels too technical, start with a window garden. Use a tiered shelf or hanging planter near a south-facing window.
- Containers: Lightweight plastic or fabric pots with drainage trays.
- Soil: Use a lightweight potting mix with perlite for drainage.
- Plants: Pothos, spider plants, aloe vera, and culinary herbs are forgiving.
I keep a small window garden in my bathroom. The humidity from showers helps plants like ferns and orchids thrive with minimal care.
Putting It All Together: A Sample Layout for a Small Garden
Let’s imagine you have a 10×20-foot backyard or patio. Here’s how to lay it out for maximum accessibility:
- Center: A 4×8-foot raised bed at 30 inches tall, divided into two 2×8 sections for easy reach.
- Left side: A 3×6-foot table-top raised bed for herbs and lettuce.
- Right side: A self-watering container (30-gallon) for a dwarf fruit tree or tomato.
- Paths: 4-foot-wide decomposed granite paths connecting all beds.
- Seating: A bench or chair under a shade sail near the house.
- Indoor hub: A corner of your kitchen or sunroom with a hydroponic kit and grow lights.
This layout minimizes walking, eliminates bending, and gives you both outdoor and indoor options. I’ve used a similar design for years, and it allows me to garden 30 minutes a day without pain.
Common Mistakes to Avoid
- Overbuilding: Don’t make beds too deep. Stick to 12-18 inches. Deeper soil is heavier and harder to manage.
- Ignoring shade: Seniors are more prone to heat exhaustion. Always include a shaded seating area.
- Using heavy pots: Choose lightweight fiberglass or fabric pots over ceramic. They’re easier to move.
- Skipping maintenance: Even low-maintenance gardens need weekly checks. Set a timer so you don’t overdo it.
I once built a beautiful cedar bed that was 36 inches deep. It looked great, but filling it with soil was a nightmare. Now I stick to 12 inches and use a soil mix that’s light and fluffy.
Final Thoughts: Gardening Is a Journey, Not a Chore
When I started gardening in the 1980s, I thought it was all about hard work and sweat. Now I know it’s about working smarter. A senior-friendly garden design isn’t a compromise—it’s an upgrade. You’ll spend less time in pain and more time enjoying the harvest.
Start small. Pick one raised bed or a hydroponic kit. Test the layout for a season. Adjust as your body tells you what works. And remember: every seed you plant is a promise to yourself that you’re still in the game.
I’ve been gardening for over 40 years, and I plan to keep going until my last breath. With the right layout, you can too.
Leave a Reply