Garden Auger Drill Bits for Seniors: The Lazy (Smart) Way to Plant Bulbs
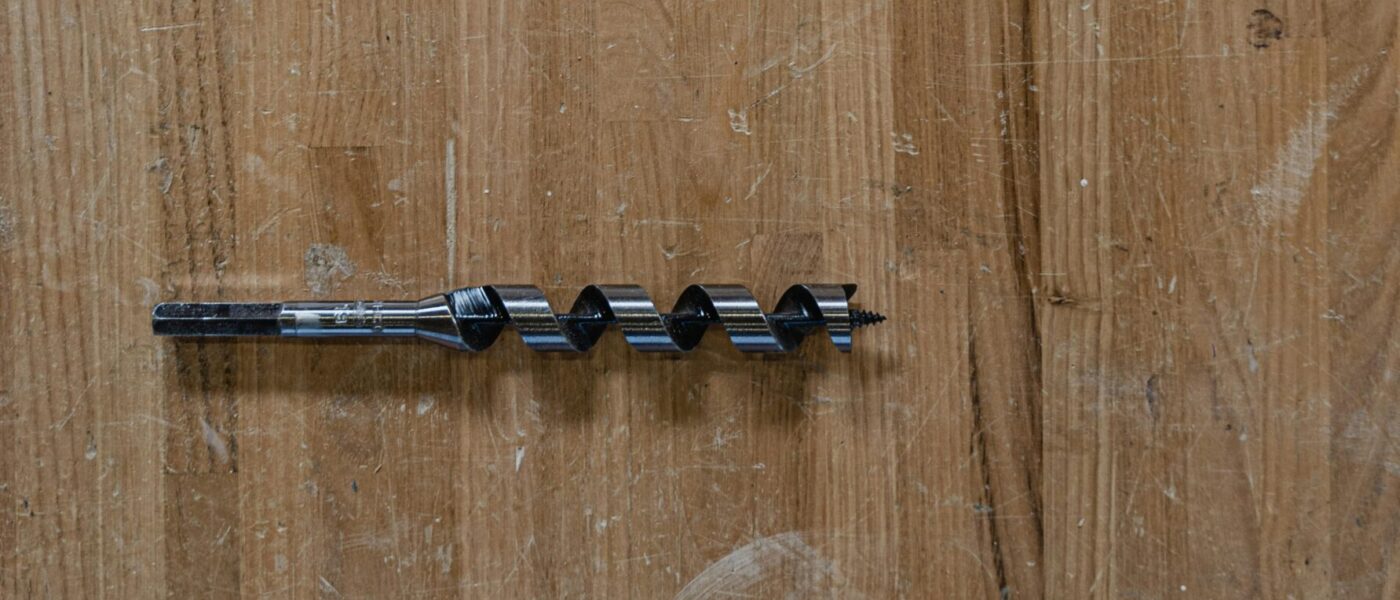
Let me be blunt: digging dozens of holes for tulips, daffodils, or crocuses by hand is a recipe for pain. You bend, you kneel, you twist, and you pay for it for days. But a garden auger attached to a cordless drill changes the entire game. It’s not about being lazy; it’s about working smarter, conserving energy, and protecting your joints so you can enjoy your garden for years to come.
Why Your Knees and Back Will Thank You
When I was in my forties, I could dig a hundred bulb holes in an afternoon without a second thought. By my late fifties, that same task left me hobbling. The problem isn’t just the digging—it’s the repetitive bending, the pressure on your knees from kneeling, and the strain on your lower back from leaning over. A garden auger eliminates all of that. You stand upright, hold the drill at waist height, and let the bit do the work. It’s a simple mechanical advantage that saves your body from cumulative wear and tear.
Think about the mechanics: a standard hand trowel requires you to push down with your arm and body weight, often while crouched. An auger bit, spinning at 400-800 RPM, cuts through soil like butter. You just guide it. For seniors with arthritis in their hands, the trigger on a modern drill is far easier to squeeze than a trowel handle. For those with bad knees, you never have to kneel at all.
What to Look for in a Garden Auger Drill Bits
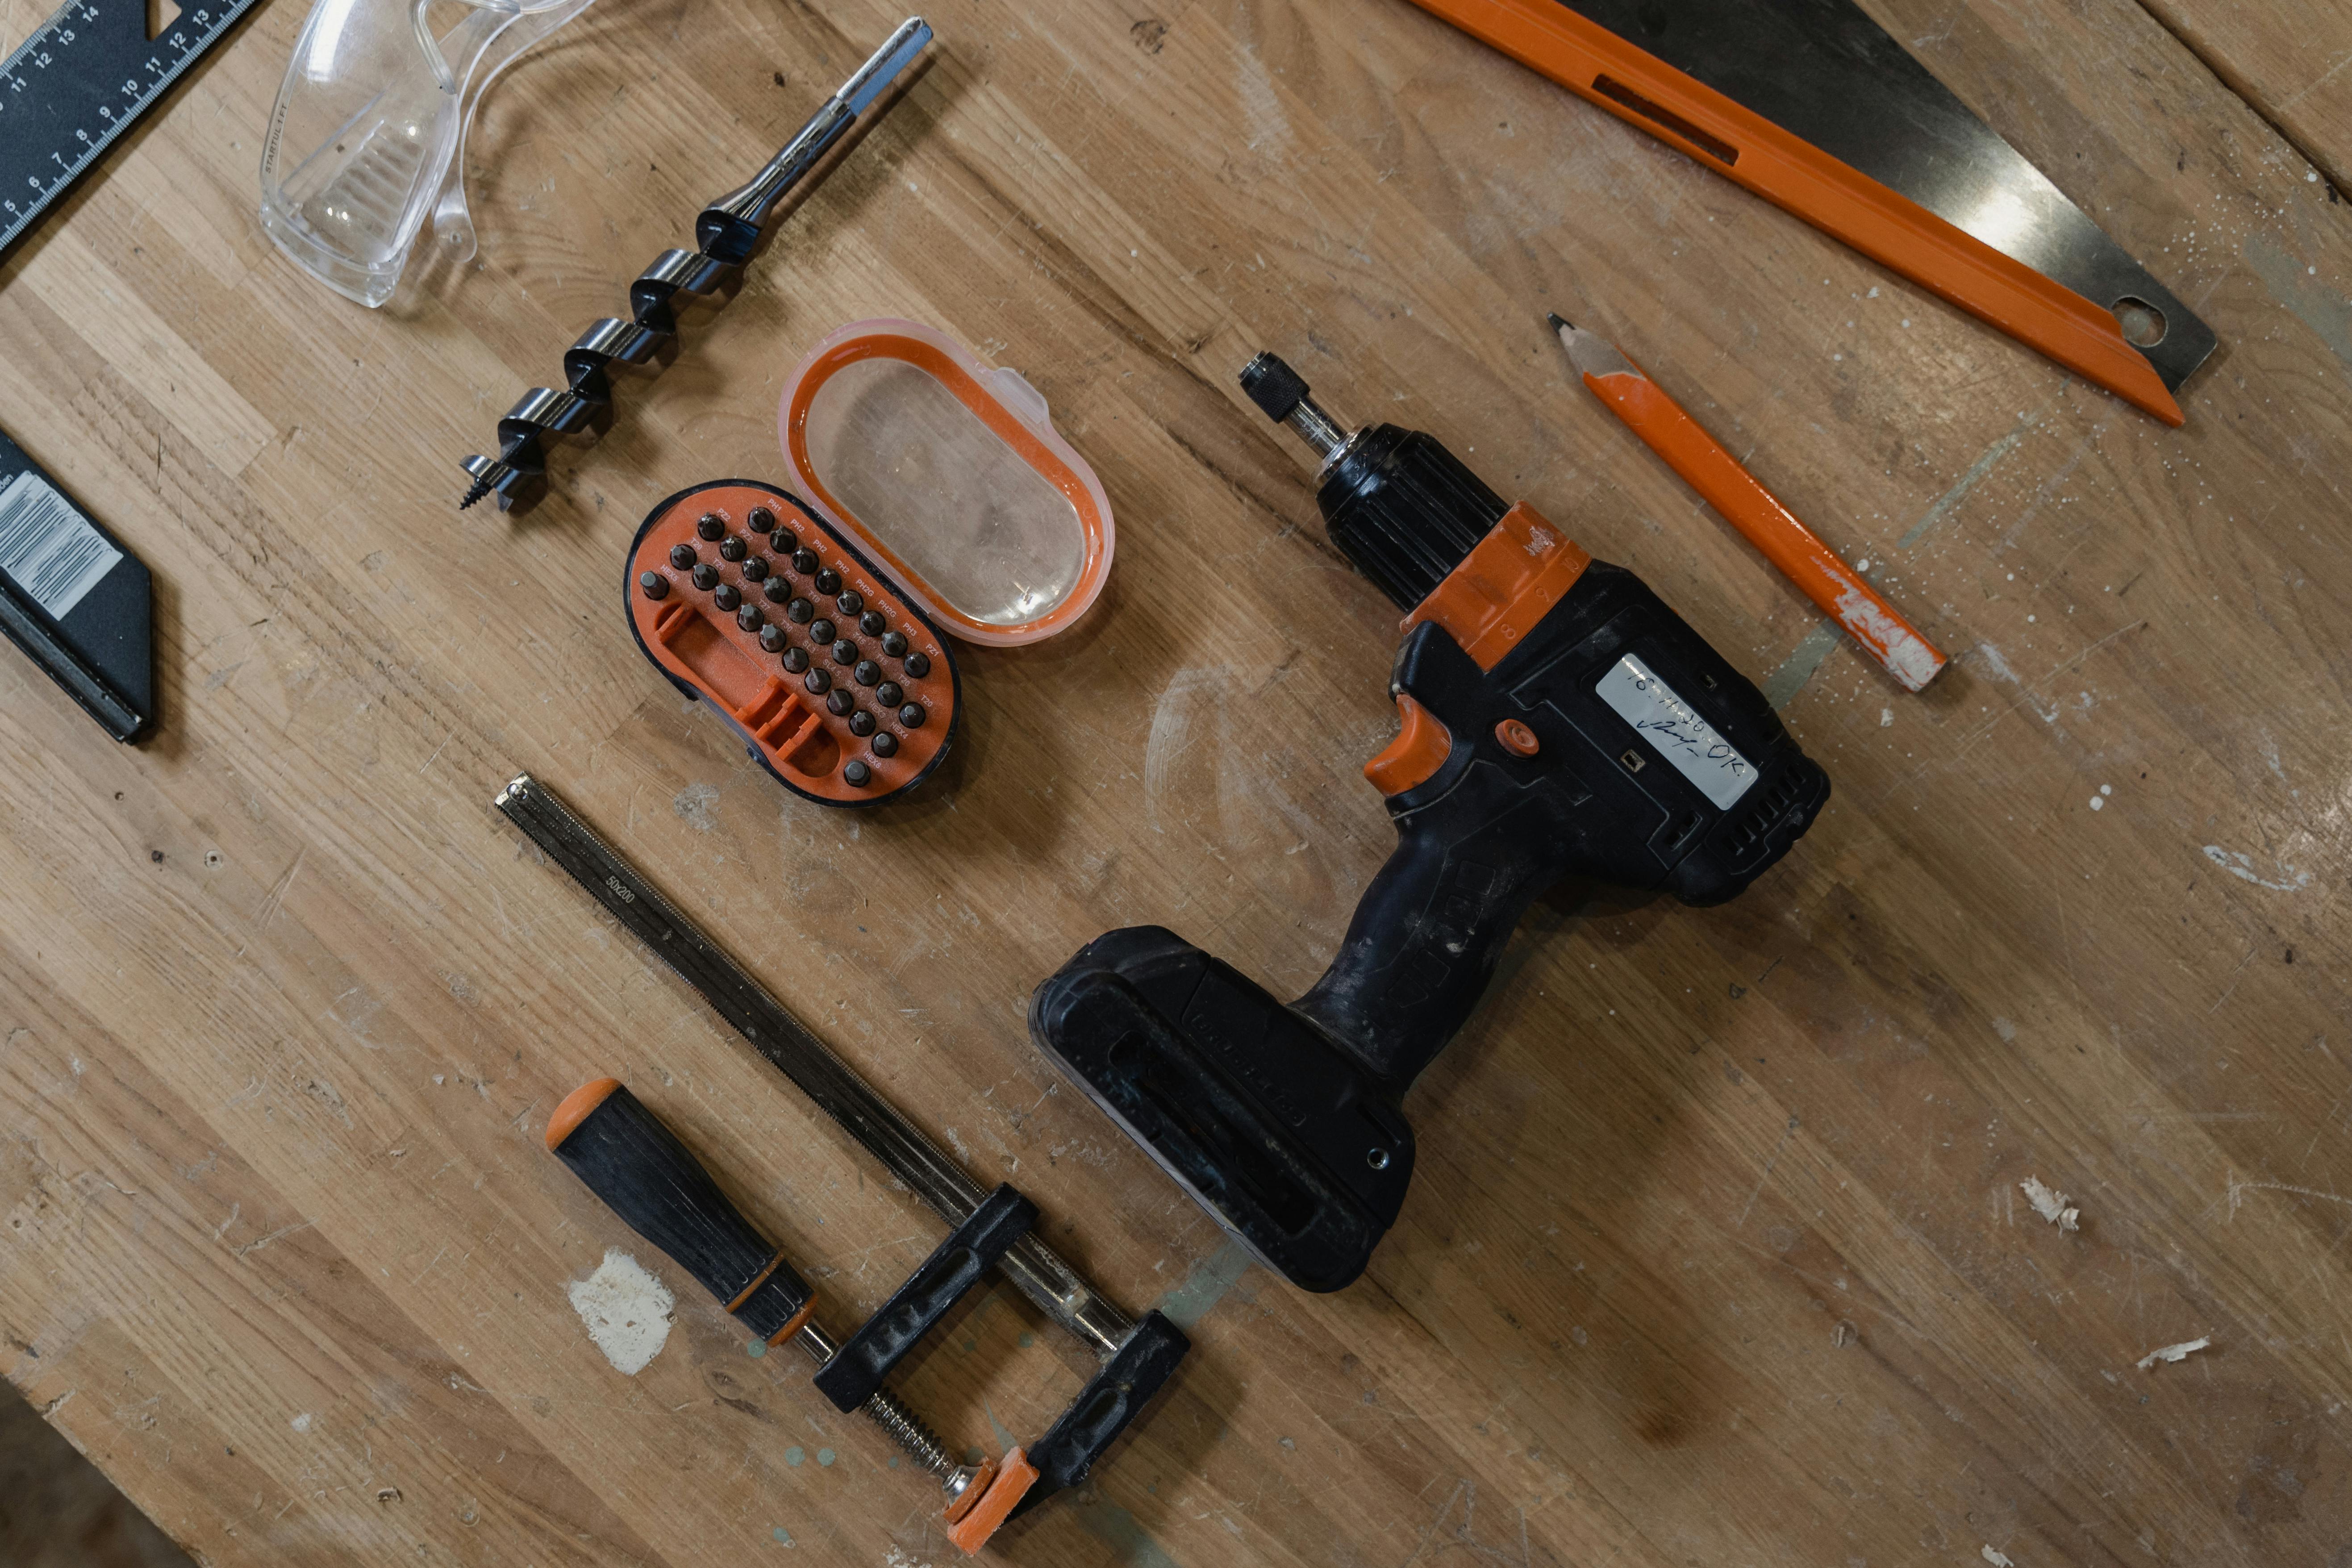
Not all augers are created equal. After testing dozens over the years—and ruining a few cheap ones—here’s what matters for a senior gardener:
Bit Size and Shape
- Diameter: For most bulbs (tulips, daffodils, hyacinths), a 2-inch to 3-inch diameter bit is ideal. Larger bits (4 inches) are for bigger bulbs like lilies or for transplanting small perennials.
- Length: A 24-inch to 30-inch bit gives you depth control without forcing you to bend too low. Shorter bits (12 inches) require you to crouch, which defeats the purpose.
- Spiral Design: Look for a continuous spiral (like a ship’s anchor) that pulls soil upward and out of the hole. Cheap augers with flat blades just churn the dirt into a muddy mess.
Drill Compatibility
- Power: A 20-volt cordless drill with at least 500 inch-pounds of torque is essential. Seniors should avoid lightweight drills that stall in compacted soil—they’ll just frustrate you.
- Handle Design: If possible, get a drill with an auxiliary handle (the side grip). It gives you two-handed control and reduces wrist strain.
- Variable Speed: Start slow, then increase speed. This prevents the auger from “walking” or skipping across the surface.
Material and Durability
- Steel Quality: High-carbon steel or hardened alloy is best. Avoid painted bits that chip and rust after one season.
- Hex Shank: A 3/8-inch or 1/2-inch hex shank prevents slipping in the drill chuck. Round shanks are a pain.
The “Lazy” Method That Saves Your Energy
I call this the “lazy method” because it involves minimal physical effort, but it’s actually a strategic approach to bulb planting. Here’s my step-by-step process developed over years of testing:
- Mark Your Spots: Use a bulb planter template or a simple grid of string to mark where each bulb goes. This prevents you from drilling random holes and then trying to fit bulbs in later.
- Drill the Holes: Stand upright, hold the drill with both hands (one on the trigger, one on the auxiliary handle), and press the auger straight down. Let the drill do the work—don’t lean on it. Pull the auger out every 2-3 seconds to clear the soil. You’ll have a clean, deep hole in under 5 seconds.
- Drop in the Bulbs: This is the only part where you might need to bend slightly, but you can do it from a standing position by using a long-handled bulb planter or a simple drop tube. Or, just kneel once for the whole row.
- Backfill with Soil: Use the soil that came out of the hole—no need to mix in amendments unless your soil is pure clay. A gentle push with your foot or a broom handle settles it.
The entire process for 100 bulbs takes about 15 minutes. By hand, that same task can take an hour or more, and you’ll be sore for days. The auger method reduces physical strain by at least 80%.
Common Mistakes Seniors Make (And How to Avoid Them)
I’ve seen well-meaning seniors buy the wrong tool and end up more frustrated than when they started. Here are the pitfalls:
- Using a drill with too little torque: A 12-volt drill might work for one hole in loose soil, but it will stall in compacted clay. Spend the money on a 20-volt or 40-volt model. Your joints will thank you.
- Forcing the auger sideways: The auger is designed for vertical drilling. If you try to angle it to widen a hole, you’ll snap the bit or strip the chuck. Drill straight down, then use a hand trowel for any widening.
- Ignoring soil moisture: Dry, hard soil is the enemy. Water the area lightly the day before planting. Moist soil cuts like butter; dry soil turns the auger into a grinding wheel that overheats your drill.
- Buying a bit that’s too long: A 36-inch bit sounds great, but it’s hard to control. Stick with 24 inches for most bulbs. If you need deeper holes for long-rooted perennials, use a 30-inch bit but only with a drill that has a handlebar grip.
High-Ticket Tools That Make Sense for Seniors
Let’s talk about the elephant in the room: cost. A good garden auger bit costs between $25 and $60. A quality cordless drill can be $100 to $300. That’s a significant investment for a retiree on a fixed income. But consider this: a single trip to the chiropractor or a physical therapy session for a pulled back muscle costs more than the entire setup. And you’ll use this tool for years—for bulbs, for planting annuals, for transplanting shrubs, even for mixing soil in a bucket.
Here are the high-ticket items I recommend for seniors who want to invest in their long-term gardening comfort:
- Heavy-Duty Auger Bit (2.5-inch x 24-inch): Look for brands like Power Planter or Yard Butler. These are made from thick-walled steel and have a self-cleaning design. Expect to pay $40-$60.
- High-Torque Cordless Drill (20V or 40V): DeWalt, Milwaukee, or Makita are the gold standards. A brushless motor is quieter and lasts longer. Budget $150-$300.
- Drill Support Stand (Optional): For seniors with severe arthritis or limited grip strength, a drill stand with a handlebar lets you control the auger with minimal hand pressure. These cost $80-$150 but are a game-changer for large planting projects.
- Long-Handled Bulb Planter (for backfilling): Even with the auger, you need to backfill holes. A long-handled bulb planter (like a narrow trowel on a 36-inch handle) saves you from bending. Cost: $30-$50.
I know the upfront cost sounds steep, but think of it as buying back your mobility. I’ve seen seniors give up gardening entirely because of pain. A $250 investment that lets you garden for another decade is a bargain.
Adaptations for Severe Arthritis
If your arthritis is advanced—say, you have trouble gripping or your wrists are weak—you can still use an auger. Here’s how:
- Use a drill with a paddle switch: Instead of a trigger, some drills have a paddle that you press with your palm. This reduces finger strain.
- Add a foam grip: Wrap the drill handle with foam pipe insulation or a tennis ball cut in half. This widens the grip and reduces the force needed to hold it.
- Work in short bursts: Drill 5 holes, then rest for 2 minutes. The auger is so fast that you can plant 50 bulbs in 10 minutes of actual drilling time.
- Use a kneeling pad or garden seat: Even though you’re standing, having a seat nearby lets you sit for backfilling. I keep a rolling garden stool for this purpose.
Why This Method Beats Every Other Tool
I’ve tried everything over the years: hand trowels, bulb planters, dibbers, even a manual post-hole digger. None of them compare to the auger for a senior gardener. Here’s the breakdown:
- Hand Trowel: Requires bending, kneeling, and wrist twisting. Poor ergonomics for anyone with arthritis.
- Bulb Planter (stand-up type): Better than a trowel, but you still have to step on it and lean your weight. Hard on the knees if you have to press hard.
- Dibber: Just a pointed stick. Useless for bulbs deeper than 2 inches.
- Garden Auger: No bending, no kneeling, no wrist strain. You stand straight, guide the drill, and the soil comes out automatically. It’s the only tool that lets you plant 100 bulbs without breaking a sweat.
The auger also excels in rocky soil. If you hit a rock, the drill will either push it aside or stall. With a hand trowel, you’d be cursing and scraping for minutes. With the auger, you just move over 2 inches and try again.
Start Small, Then Invest
If you’re skeptical, borrow a friend’s auger and try it on a small patch. Plant 10 bulbs the old way, then 10 with the auger. You’ll feel the difference in your back and knees immediately. Once you’re convinced, buy the best drill and bit you can afford. Don’t cheap out—a $20 auger from a discount store will bend or break in heavy soil.
I’m 72 now, and I still plant 300 bulbs every fall. I do it in under an hour, standing upright, with no pain the next day. That’s not luck—it’s smart tool selection. The garden auger drill bit is the single most ergonomic innovation for senior gardeners since the long-handled pruner. Use it, and you’ll wonder why you didn’t start years earlier.
Remember: gardening should be a joy, not a source of pain. The “lazy” way is often the smart way. Your body will thank you, and your garden will be just as beautiful.
Leave a Reply